

All images are property of Warner Bros�
![]()
Written
and illustrated by Dr. Hugh
Website conversion and layout by Bert Jamin


|
|
|
|
Click on one of these images to go to that Level
 |
 |
 |
 |
 |
 |
 |
 |
 |
 |
 |
 |
 |
 |
 |
 |
Or click on the image at the bottom of this page to go to the next Level
� November 2002 Bert Jamin
(www.gamesover.com)
This walkthrough may not be sold and may not be used for any commercial
purposes. Neither is it permitted to publish this walkthrough in any way without
the written permission of the author. Feel free to place this walkthrough on
your web site or on your home page, on condition that no part of this
walkthrough is changed and that the name of the author (Dr. Hugh), the URL of
the owner of this site ( www.gamesover.com
) and his E-mail address ( [email protected]
) are mentioned unchanged. For the most up to date walkthroughs always visit
www.gamesover.com.
If you have any suggestions to improve this walkthrough, let me know by sending me an email: [email protected] .
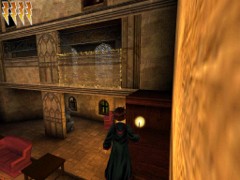
Level 7: The Manor
The
Study of Professor Dumbledore
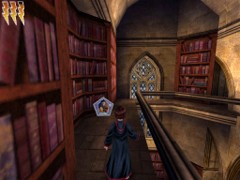
Walk
up to the first floating staircase. When you arrive you�ll see the paralyzed
Ghost of Nick hanging in the air.
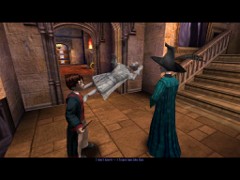
Follow
me, Potter! This is out of my hands.
Harry
is following the Professor to a higher corridor with a Dragon Statue.
Through this door, please, Potter.
Follow
the staircase and cast Alohomora on the chest. This one contains a number of
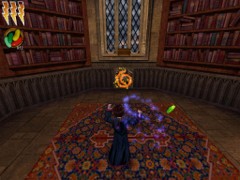
Beans. Now go inside in Professor Dumbledore�s Study.
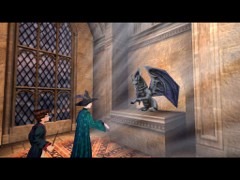
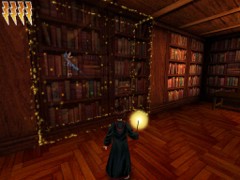
The Study of Albus Dumbledore
Turn
left and approach to what look like a parrot on a stand.
Avoid
the red desk for now. Pass it to the library on ground level. Cast Alohomora on
a chest and get the bronze Wizard Card #10: Burdock Muldoon,
1429-1490.
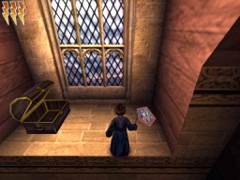
Go
up the stairs and take the Beans from the floor. Turn toward the window and
notice a small chest above a sculptured tile.

A secret wall slides open
Go
inside and an elevator will lift Harry up to a second floor. Go around, grab all
Beans and enter the second section where the silver Wizard Card #79: Oswald
Beamish, 1850-1932 will be yours.
The silver Card in the Study
Jump
down to ground level. Walk up to the desk where a Wizard hat is lying:
And
the Sorting Hat says: You�ve
been wondering whether I put you in the right house. Yes, you were particularly
difficult to place. But I stand by what I said before:

You would have done well in Slytherin
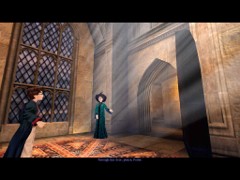
Suddenly
Albus Dumbledore enters his study.
But
the Professor tells Harry that Fawkes is a Phoenix. Phoenixes burst into flame
when it is time for them to die and are reborn from their ashes.
Fascinating
creatures, Phoenixes. They can carry immensely heavy loads. Their tears have
healing powers and they make highly faithful pets.

I know you�re not. But I still want to
talk to you
Dumbledore
asks Harry whether there is anything he�d like to tell him.

Being
able to talk to snakes was what Salazar Slytherin was famous for
But
there isn�t anything Harry can tell to the Professor.

Hermione�s
waiting for you.
Joining
Hermione
Follow
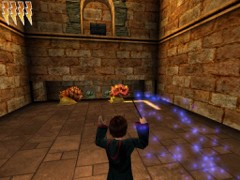
Run but first turn left into the Defense against the Dark Arts Classroom.
Enter
the classroom and turn right. A small chest is standing on the window ledge next
to Gilderoy�s painting. Jump on the ledge and cast Alohomora twice for some
Beans.
Stay
on this side of the room. There is a chest on the next window ledge. Cast
Alohomora on the chest and earn the bronze Wizard Card #50: Musidora Barkwith,
1520-1666.
This
is Harry�s 30th bronze Wizard Card, now he�s got 4 lightning
meters for his stamina!
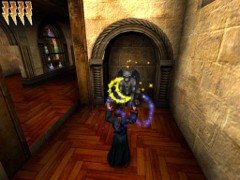
A fine bronze Wizard Card
Proceed
to the red bottle and get a couple of more Beans out of that with Flipendo.
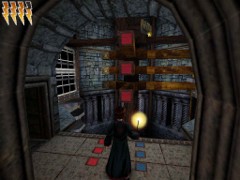
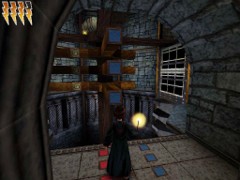
Look
up to the Dinosaur skeleton hanging from the ceiling and do not cast Flipendo on
it four times or you�re just get a bunch of. Spiders falling down.
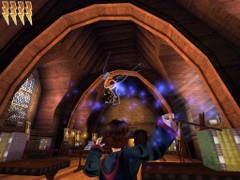
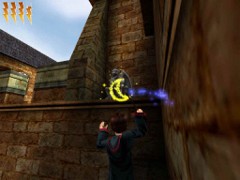
Multiple Flipendo on the skeleton
for... spiders!
Finally
cast Flipendo twice on the tin man and shake the Beans out of him.
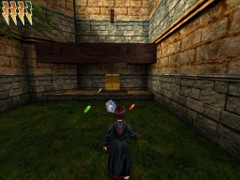
Go to the Hall of Floating Stairs.
Turn
right into Flitwick�s Charms classroom. Go to the red Bean on the floor and
pick it up. Turn left and cast Alohomora on a chest. Receive your bronze Wizard
Card #31: Balfour Blane, 1566-1629.
Enter
the opposite room. Turn right and cast Alohomora twice on a small chest on a
table.
Flip
the cauldron on the opposite side and leave here.
Ron
is entering the Bathroom first: I feel
very uncomfortable being in a girl�s bathroom.
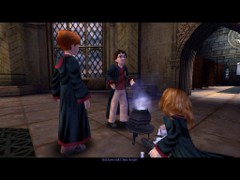
What�s
that horrible stink Hermione?
Hermione
says that it will be the Polyjuice Potion.
At
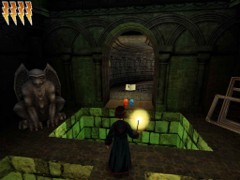
this time Goyle is usually filling his face down in the dungeons.
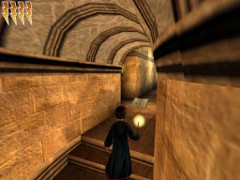
The
Pursuit of Goyle
Harry
is now in the main corridor of the Dungeons and the floor is filled with pieces
of food. Follow that track and Harry will see Goyle:
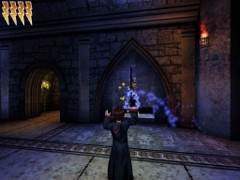
Cast
Alohomora on that door...
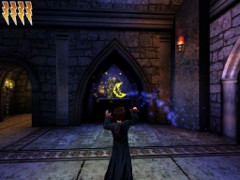
...and
Lumos on the Gargoyle
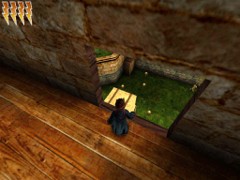
Go to the end of the passage and you�ll find a charmed part in the floor.
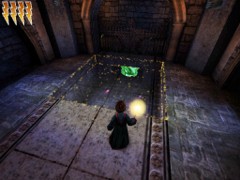
Jump
down here
Inside
take some Beans and cast Skurge on an Ectoplasm. The grilled door will now open
and you may climb up to the Secret Area.
Pick
up all the Beans, open the chest with Alohomora and retrieve the
silver Wizard
Card #54: Gaspard Shingleton, 1959-present, Celebrated Inventor.
That�s
Goyle. Harry�d better follow him
Enter
through the door that was sealed before.
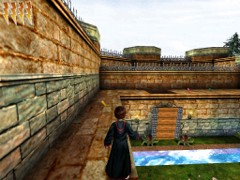
THE
RESIDENCE
[7.2]
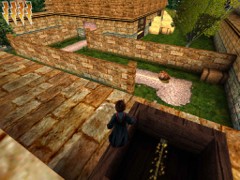
Walk up the stairs. You�ll arrive in a Hall with a staircase and will see an
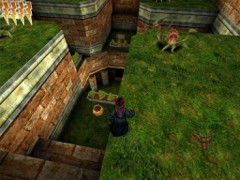
inner garden with two Bowtruckles and some Horklumps.
Go
in the garden and cast Diffindo on each of the 6 Horklumps Mushrooms. Crush the
spiders.
Cast
Alohomora on the chest and win your bronze Wizard Card #83: Roderick Plumpton,
1889-1987, Seeker for England Quidditch Team.
Cast
Diffindo on the plants covering a Flipendo sign. Flipendo! You�ll see the
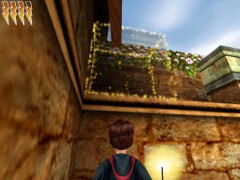
camera view fly to the staircase where 3 blocks come out of the wall.
These blocks form a larger staircase
Cast
Flipendo on the block with the similar sign. It will move to the wall.
Jump
from the block to the ledge with the owl and take the Bean.
Then
jump to the ledge with a red Bean, further a green, green + red, and green Bean.
There
are three arcade bows all blocked by plant growth. Pick up a green and a blue
Bean.
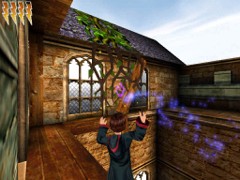
Cast Diffindo on the vine
The
beam now forms a bridge to the opposite side.
Cast
Alohomora for some Beans out of that.
Jump to the beam
Take
some Beans and cast Diffindo on the spider web in the opposite hole in the
chimney wall. Jump into the hole and catch a Bean.
Jump
to the opposite ledge with the blue Bean. From this ledge cast Flipendo on the
block with the sign and it�ll drop down in the room below.
Jump
down from block to block in the chimney and down through the fireplace in the
room.
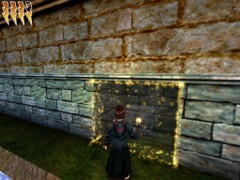
The wall is charmed by the Lumos Spell
Jump
through the transparent wall into a secret room and cast Alohomora on the chest.
That will provide Harry his silver Wizard Card #62: Ignatia Wildsmith,
1227-1320, inventor of Floo Powder.
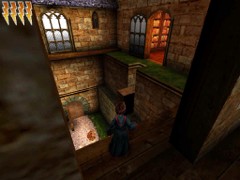
Save here
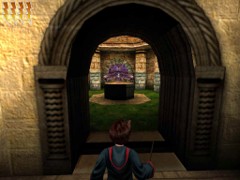
THE
ROOFTOP GARDENS
[7.3]
Run to the end of the hallway and turn left to the entrance of a small courtyard
where a giant Fire Crab is waiting in ambush on a pedestal.
Cast
Rictusempra twice on the crab and then Flipendo a number of times to get it into
its hole on the left side.
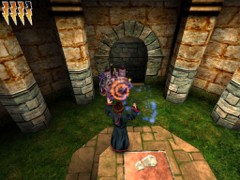
Push the giant Crab in its hole
Step
on the footstep print on the pedestal and a door will open to an antechamber
giving access to an octagonal lawn. Come down and first take a red Bean out of
the alcove.
Go
to the antechamber and stun the Gnome with Flipendo. There is a hole and a
window with a spider web. Don�t throw the Gnome in yet!
Jump
and throw him among the Horklumps Mushrooms. Cast Diffindo on the SpiPri Plant
on your left.
Cast
Flipendo on the Gnome and harvest all the BB Beans. Pick up the Gnome and carry
him back to the antechamber, where you�ll throw him into the hole.
Turn
around and cast Diffindo on the spider web. Climb into the Secret Area and cast
Alohomora on the chest. Sorry�no Card, just Beans!
Climb
up and cast Flipendo twice on the block with the similar sign. Jump down the
hole on the block and from here blow a hole with Diffindo in each of both SpiPri
plants higher up in front of Harry.
Jump
to the high lawn and open the Gnome hole with Diffindo.
From
this position cast Lumos on the Gargoyle higher up and go to the other side of
the ledge. Look up to the charmed block.
Lumos on the Gargoyle...
...charms this block
Walk
on the ledge behind the blocks and get rid of two SpiPri Plants. Take all Beans
and eat the Choc Frog.
Harry
is entering a kind of Drugstore. There is a Choc Frog on your right and a bottle
with Flobberworm Mucous on a bench. Cast Flipendo and grab the Muke.
Take
a couple of Beans from the shelves and turn around the corner where you�ll see
a Gargoyle. Cast Lumos on the Gargoyle, turn around and run to the charmed wall
on your right.
Lumos on the Gargoyle...
...charms this wall
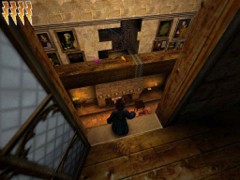
The
Secret Room has a chest with some Beans inside.
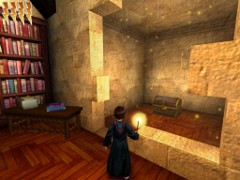
A chest and a cauldron
So
go to your right and sever an arm of the Tentacula.
Jump
down to the chest, cast Alohomora and grab the Beans.
Jump
down to the ledge with the cauldron and cast Flipendo... for a few Beans more
(now where have you heard that before?).
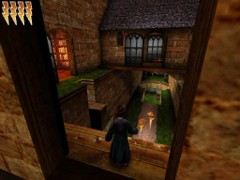
Go
to the next lawn and climb into the window.
A block lowers down
Go
and look inside the library but do not enter yet. There is a Save Book.
Careful
with the Snails, you may better stun them should they approach.
Now
the elevator goes one floor up. A new hatch opens, this time with two Snails on
it.
First Fire Crabs, now Giant Snails
Get
them into that hole and the elevator goes one floor up once again. Cast
Alahomora on the secret chest and capture the bronze Wizard Card #80: Beatrix
Bloxam, 1794-1810, Author of the Toadstool Tales.
Turn
around and cast Diffindo on the spider web. The window will open. Notice one or
two Choc Frogs on your right.
From the other side
Go
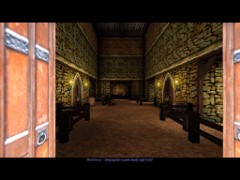
into the Library and save by the Book.
BEYOND
THE LIBRARY
[7.4]
Turn left twice and look right. You�re inside a dark corner of the Library.
Cast
Diffindo on the spider web and the wall with bookshelves will slide down.
The charmed wall
Cast
Rictusempra on the Cornush Pixie, enter and cast Alohomora on the lock of the
door. Open the chest with Alohomora for a bunch of Beans.
Go
out and turn right where you��ll see a spider web above a red armchair. Cast
Diffindo, and the wall will slide to the left. Proceed and around the corner
part of the floor will drop down�with Harry on it.
Immediately
turn around and stun the Fire Crab behind the bars with Rictusempra.
The octagonal Shaft
First
get rid of that nasty Pixie with Rictusempra.
You�ll
see 3 rotating beams each with a Flipendo sign. On the floor there are 3 red
signs in a row on your left, and blue signs on your right.
Three colors in a row
That
will open the left and the right entrance on the first floor.
The
chest on your left contains some Beans and the bronze Wizard Card #47: Edgar
Stroulger, 1703-1789, Inventor of Sneakoscope.
Return
to the entrance of the staircase and cast Alohomora on a lock on your left side.
That will open a second staircase leading upwards.
A secret entrance
Go
up and jump left or right to the narrow ledge. Walk past the Gargoyle to a dark
Secret Room behind him. Cast Alohomora on the chest and obtain lots of Beans and
your bronze Wizard Card #44: Devlin Whitehorn, 1945-present, Company
founder.
Go
down and follow the beam, down the stairs into a dark area full of Ectoplasms,
all sitting on a BB Bean. First cast Lumos on the Gargoyle and make some light
in the dark under there.
In
the next room is another Gargoyle. This and the previous one each may charm the
wall on your left. Go inside the Secret Room and cast Alohomora on the chest.
Keep
casting Lumos for light in here. Whipe out the entire area of blobs and grab
more Beans.
Make a save game
THE
BARN
[7.5]
Go down the stairs and cast Diffindo on two spider webs (watch the spiders).
Climb up and enter the attic of the barn. Make the Pixie vanish with Rictusempra.
Go
halfway and turn right. Remove both spider web with Diffindo.
Jump
down to a workshop, grab a Bean on the side with the ladder and eat a Choc Frog
on the other side if you wish.
Jump down
Come
down from the blocks and first get rid of the Bowtruckle with a Diffindo Spell. Take his Wiggentree Bark. Then, stun the Gnome and throw him into his
hole. Take all Beans. Go to the section with the young flower plants. There are
two Beans in the corner.
Climb
the block in the corner and further up to the walkway.
A closed door
Diffindo on the rope
That
will release a draw-bridge over the water below, and in one time open a Secret
Area below.
Continue
along this narrow path and get rid of two more SpiPri Plants
The charmed wall
Cast
Alohomora on the chest and get a few Beans.
Cast
Diffindo on the rope above the thick wooden platform and a chest will fall down.
A Spell of Alohomora on the chest will make Harry earn more Beans and his silver
Wizard Card #22: Circe, Ancient Greek.
A silver Card in a Secret Area
Cross
the bridge to the track of the Giant Orange Snail and stun the fellow with
Rictusempra.
THE
BIT OF GOYLE
Open
the door lock of the barn with Rictusempra: I
have to be careful not to wake Goyle.
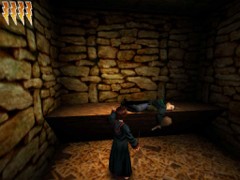
There he is � sleeping like a particularly ugly baby!
There
are doors on your left and right to open up with Alohomora.
Harry takes the bit of
Goyle.
Now
let's head for...

Level
8