

All images are property of Warner Bros�
![]()
Written
and illustrated by Dr. Hugh
Website conversion and layout by Bert Jamin

 |
|
 |
|
Click on one of these images to go to that Level
Or click on the image at the bottom of this page to go to the next Level
� November 2002 Bert Jamin
(www.gamesover.com)
This walkthrough may not be sold and may not be used for any commercial
purposes. Neither is it permitted to publish this walkthrough in any way without
the written permission of the author. Feel free to place this walkthrough on
your web site or on your home page, on condition that no part of this
walkthrough is changed and that the name of the author (Dr. Hugh), the URL of
the owner of this site ( www.gamesover.com
) and his E-mail address ( [email protected]
) are mentioned unchanged. For the most up to date walkthroughs always visit
www.gamesover.com.
If you have any suggestions to improve this walkthrough, let me know by sending me an email: [email protected] .
Level
4: The Dungeons
[4.1] Return to the Dungeon Entrance: that is, descend the
Monumental staircase and enter on your right.
You�re
standing in the main Dungeon corridor, and you recall that four areas are
accessible in here.
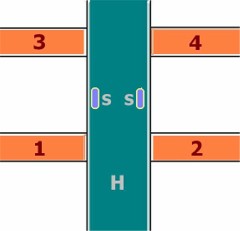
Map
of the main dungeon Corridor
H.
Harry
S. Iron Soldiers
1. to Potions classroom
2. to room with Gargoyle
3. to door blocked with Ecoplasm
4. to sealed door
Harry
needs to go through the Dungeon corridor #3 blocked with Ectoplasm to find some
powdered Bicorn Horn. You have time for some extra exploration of the corridors,
so let�s do that first.
Go
inside corridor #1 and to your left in the antechamber a boy (Flobberworm
Mucous) and a girl (Wiggentree Bark) would like to trade with Harry. Accept or
recall. However we�ll stumble upon sufficient of that stuff further in this
level.
Next
you�ll be entering the Potions classroom with Prof. Snape walking around in
there. Cast Alohomora the �S� sign on the wall left of the entrance. Skurge
the Ectoplasm and grab the Beans. Step on a Switch that was trapped by the blob
and watch 3 blocks lifting up nearby.
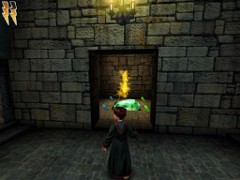
The
hidden room
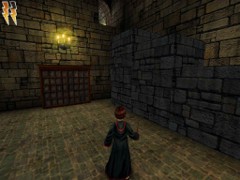
Three
blocks raise
Climb
the blocks like a giant staircase, starting to your right from the lowest block
and jump inside through the opened window. Take the Beans and open the chest for
your 10th silver Wizard
Card # 60: Laverne de Montmorency, 1823-1893 Inventor.
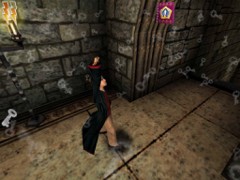
Ten
silver Cards!
Go
down and explore
the classroom a little further. Go see the chest in the corner that you were not
allowed to approach last visit. Cast Alohomora for the bronze Wizard
Card # 9: Gunhilda of Gorsernoor, 1556-1639 one-eyed-hump-backed Witch.
There
is a door in the other corner that is sealed. Would this be the room where Snipe
keeps the Bicorn Horn?
In
the dungeons again? I wouldn�t be surprised if you became hopelessly lost,
says Snipe.
Notice
the bottles on the table and leave here.
Enter
corridor #2.
Cast
Skurge on the Ectoplasm and Lumos on the entrapped Gargoyle. That will unveil a
rope in a corner cabinet. Hmmm�it seems like Harry will need a future Spell
for cutting the rope. Remember that rope in this room.
Explore corridor #4. The door upstairs is sealed. Now enter the 3th corridor, and upstairs cast Skurge on the Ectoplasm blocking the entrance door.
Trapped
inside
[4.2] Enter a dark room with a locked door and behind your back the entrance door seals off. Harry is trapped inside the Dungeons and is going to spend quite some time in here.
Take the Beans on both sides of the door.
Approach
and look in the high octagonal room. There's a tall beam in the middle above a
pool of greenish substance. Notice two Flipendo spirals on the wall?
Cast a Spell on each of them and the beam will be twisting up and down. Jump on the platform on top of the beam and ride up to the Ectoplasm above you. Cast Skurge on the blob and jump into the hole that is rendered accessible.
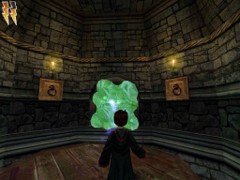
Skurge
the Ecto and quickly jump inside.
The two chests in the corners each contain a Chocolate Frog. Ride the beam downward and jump to the middle window. Inside is a cauldron to flip aside for BB Beans. Cast Lumos on the Gargoyle and watch a cut scene on the gaps between the stairs in the lower passage.
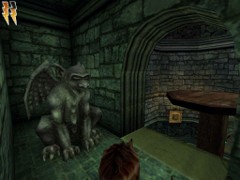
Lumos
on this fellow will unveil some dangerous gaps in the lower stairway
Ride
the beam one floor lower and jump to the stairway. Immediately stun the Cornish
Pixie with Rictusempra.
Easy on those gaps in between. Cast Skurge on each of the four blobs, and carefully jump from spot to spot.
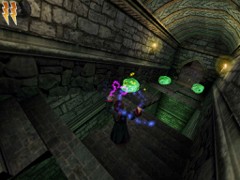
Get
rid of these blobs and clear the way down
Enter an antechamber and grab some Beans.
Giant
Snails and Fire Crabs
You�ll arrive at the next octagonal room.
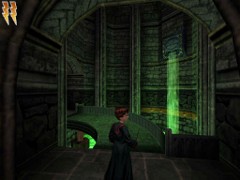
You
may now proceed on the catwalk that has just raised
Follow
left and don�t miss the chest in a dark niche. It contains the bronze
Wizard card # 6: Glanmore Peakes, 1677-1761 Famous Slayer. Turn around
and cast Alohomora on the wall sign. That will open a small reddish room with a
chest.
This chest contains the silver Wizard card # 42: Crispin Cronk, 1795-1872 Sent to Azkaban. Proceed following left and arrive at a large room with two Giant Orange Snails.
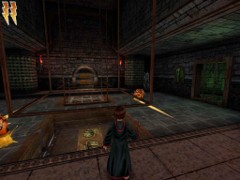
The
room with two Snails
They
each must be thrown on the front plate. That will allow two Fire Crabs appearing
on the second plate that comes up.
Each
of these Crabs must be pushed inside one of two smaller rooms with a Crab sign.
Explore each room first.
You�ll
find Beans and a bottle with Wiggentree Bark. Cast Flipendo on the bottle and
catch the Bark.
Now
stun each Crab with Rictusempra and push it with Flipendo into one of the rooms.
Once the Crab is thrown inside a grilled door will close, thus trapping the
Crab. When both Crabs are locked up the exit out of this area is assured.
Flip the cauldron in the corner and go to the next area where you'll stun two Pixies first. To your right Skurge a first blubber that blocks the ledge. Walk down the stairway. Skurge the second Ectoblob next to the purple Bean.
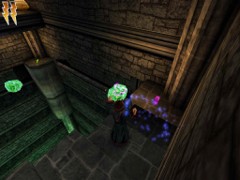
The
Ectoplasms all are blocking stairs and ledges
Follow the ledge that is released. The third Ecto is by the green Bean under a cauldron on a higher ledge. Return to the previous room and cast Lumos on the Gargoyle. Come back and turn left, and jump to the charmed ledge.
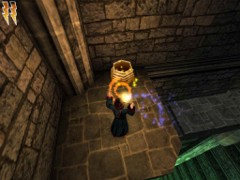
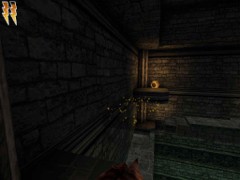
Jump to the
ledge and further to the cauldron
Follow
all the way around and enter another room with two Giant Oranges ones.
Just like
in a previous area there are two smaller rooms: with Snail signs inside. First
go in there for Beans and a Chocolate Frog. Flip each Snail inside a room. Once
both Snails are jailed the exit door will open. Cast Alohomora on a chest for
the bronze Wizard card # 2:
Cornelius Agrippa, 1486-1535 Celebrated wizard, then enter the next area.
Promptly
cast Flipendo on the Gnome and throw him in the hole next to the chest. Cast
Alohomora on it for more Beans. Turn around and notice the hard to see sign on
the wall. Alohomora. Go inside and cast Alohomora on the chest to reveal the silver
Wizard card # 55: Honoria Nutcombe 1665-1743 Founded the society.
Exit the cave. Now you can finally save�

The
Hole, the Chest and the Save Book
The
Labyrinth of Colored Doors
[4.3] You then arrive at your third octagonal room, this time in blue. Skurge the blob that releases a staircase going down.
Turn right, take some Beans and enter a
balcony room with a Giant Snail. Stun it and throw it into the deep down below.
First
pick up some Beans in the corners of the balcony and don�t open the chest
�cause Peeves is in there! Notice 4 Flipendo spirals on differently colored
beams up in front of you. From left till right: green, purple, blue and red.
Look
down from the balcony and you�ll see a kind of labyrinth of colored doors
matching with the colors on the Flipendo signs.
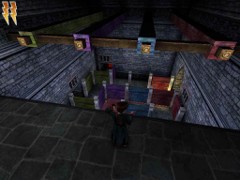
A
strange room!
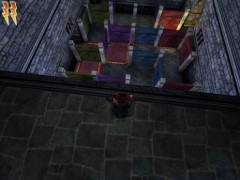
Initial position
of the Labyrinth
Notice
a stunning red tile in the left corner�s niche down at the end. Above the
niche is a sign on the wall, looking like a Roman number III. Two more of these
signs are visible, apparently indicating two more such niches.
The
red carpet leads to the exit out of the labyrinth to your right. We�ll have to
clear the carpet by switching a number of doors. Casting Flipendo on one of the
colored signs will shift the matching doors below. First shift the red doors
with a spell of Flipendo on the red sign.
There are two elevators. One is going up, the other down. Go down and quickly stun and throw the Gnome in the hole. Run and jump over the void to entrance #3 (the only one that is accessible for now). Turn behind the corner past a blue door and you�ll spot the niche with a green tile. Cast Alohomora on the tile and open a small green room with a chest inside.

The
entrance to the green room
The
chest contains some BB Beans and a bottle with Flobberworm Mucous. Cast Flipendo
on the bottle to break it and grab the Mucous.
Proceed
to the other wall and find the room with a blue tile. The chest in the blue room
contains Beans and two pots: more Flobber Muke and some Wiggentree Bark. Break
the bottles and get out the stuff. Return, cross the gap and take the elevator
riding up to the balcony.
From
here you can see how the third niche in the corner with the red tile is blocked
by a green and a purple door. Now cast Flipendo on the green sign. You can now
see from above of how to reach the red room.
Go
down and cross over to entrance #1, and head for the red room. The chest
contains a pot of Wiggentree Bark and more Beans. Now all we have to do is find
the way to the exit.
Return
upstairs and hit the red and the purple signs with Flipendo, that will clear the
path along the carpet. Jump to entrance #1, run along the red carpet and leave
this room. You
will then arrive at a room with bottles and chests.
Turn
left past the stairs going down and jump on the chest. From there you can catch
the Beans on the shelves next to a pot of Wiggentree Bark. You can�t open the
chest, at least not this kind of chest. In the alcove next to the ladder find
the bronze Wizard Card # 46:
Miranda Goshhawk, 1921-present Famous spellbook writer
in a chest that does open up with Alohomora Spell.
Cast
Flipendo on a small wall sign to free the way out of here. Jump on a small table
and catch a couple of BB. Beans. Push the block toward the wall cabinet, jump on
it, take 4 Beans and the bottle with Flobber Muke.
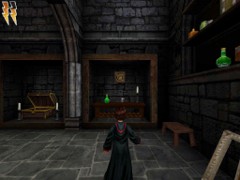
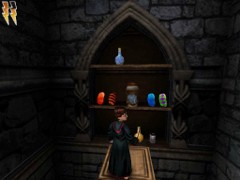
Things
to collect here
Leave
the Room and flip a cauldron to your right and get the Beans. Now you�ll be
entering an orange octagonal room. Quickly take care of a sneaky Fire Crab in
ambush. Cast Rictusempra on the bugger and then throw it down in the goo. Follow
the stairs to a Bean and a Save Book.
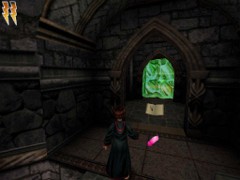
Saved
by the Book
Octagonal
Rooms and Ectoplasms
[4.4]
Skurge the Ectoplasm, enter and cast Rictusempra on the Pixie.
This is the red octagonal room. Skurge the Blob and a sort of cog mill will start turning. Jump on the revolving platform on the beam in the middle and exit to the blue octagonal room. Pick up an orange Bean. Jump on a similar beam platform and Skurge the two blobs. Take a green Bean and jump to a green octagonal room.
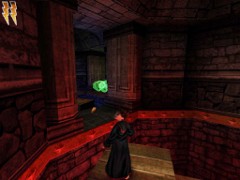
Jump
on this kind of platforms in each room
Jump on the platform and on to the red room. Grab the blue Bean. Skurge two blobs and jump out. Flip the cauldron and now go save again.
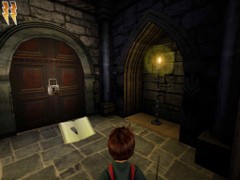
Next
save book
[4.5] There is another door with a lock and you can hear a Gnome grunting from behind.
The Gnome is sitting by a chest to your right. Stun him and carry him to the
next room. There is a hole in the left wall (watch out for a Fire Crab on the
ledge). Quickly throw the Gnome in the hole and turn around. Cast Rictusempra on
the Crab and jump to the ledge. Flip it into the hole under the Ectoplasm.
Go down, return to the chest where you stunned the Gnome and open it. Get your 20th bronze Wizard Card # 4: Grogan Stump, 1770-1884 Popular Minister and earn a third Health arrow.
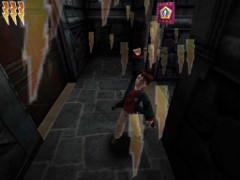
Three
Health meters for Harry! Hurray!
Proceed
to the room with the Gnome hole and flip the cauldron for some Beans. Climb the
ledge again and Skurge the blob above the Crab hole so you may jump on the
ledge. Climb a second ledge and turn around.
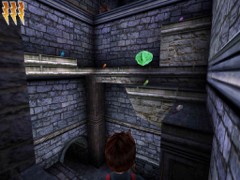
Follow
the path like is suggested by the Beans.
Skurge two blobs up there and climb to the top ledge with the Gnome and the hole. You know what to do. Before Skurgeing the blob look at the other side to a second top ledge. You�ll be going there soon. Now Skurge the blob and blow 4 Pixies out of the air in the opened cave. This is a cave with floating ledges. Skurge the blob to your left and return to the second top ledge in the previous room. Eat the Chocolate Frog and cast Flipendo on the big block. The block will move aside and open a room. Meet a Gargoyle in there and cast Lumos on him.
Watch
how a secret room in the cave is then unveiled. Return to the cave and enter
this room from your left (the Ectoplasm was blocking your way).
Open
the chest in the room for some Beans. Skurge the second blob and walk towards
the locked door. Thus you have avoided some tricky jumping to floating ledges.
Cast Alohomora and enter another room with pots and pills.
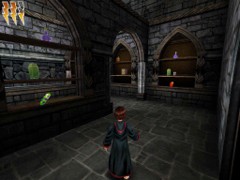
Be
prepared for a nasty trap in there!
The
Bicorn Horn
Take all the Beans from the shelves to your left and open a bottle containing Flobberworm Mucous. Grab more Beans on the next shelves and turn around the corner. You�ll suddenly drop down through a trap-door and end up in a cave with two fire Crabs sitting on blocks above some acid looking green substance.
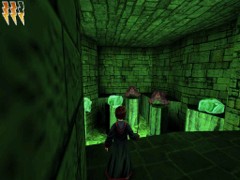
This
is where you�ll drop
Cast Rictusempra on the Crabs and then Flipendo to get them into the goo. Skurge all 4 Ectoplasms and jump from block to block to the opposite side. Climb all the way out into a second storage room. First go left and take 4 Beans. Take the Bicorn Horn from the shelve in the cabinet.
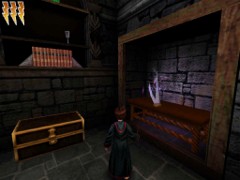
Harry
finds the Bicorn Horn
In a fast cinematic Harry returns to the Potions classroom.
[4.6]
Go
to the large table with all the bottles and if you didn�t take them last time,
cast Flipendo on the bottles with Flobberworm Muke and Wiggentree Bark.
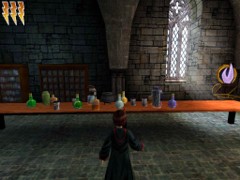
More
ingredients for Wiggenweld Potion
Don�t pay any attention to Prof. Snipe, he�ll keep saying nasty things to Harry. You�ve got one Wiggenweld Potion and six Mukes and Barks for making six more Potions. It�s time for practicing Snipe�s lesson! Turn towards the smoking cauldron and your 6 new potions will be automatically concocted.
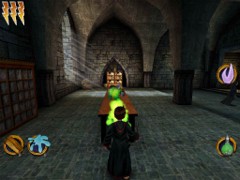
Harry
has 7 healing Potions now in case of Health emergencies!
Leave
the classroom for the main corridor and Harry runs into Hermione.
Hi,
I found some Bicorn Horn to add to the potion!
Now
Harry means for the Polyjuice Potion, remember?
Hermione:
Great, I�m still trying to find the location of the next ingredient, but I
should have it tracked down soon. She runs off and goes adding this to the
Potion.
Then
Ron arrives: They�re
starting a Dueling Club and the first meeting is today!
Come
to the Great Hall if you want to learn how to duel.
Follow
Ron to Hogwarts� majestic entrance Hall but don�t enter the Great Hall yet.
Let him wait on you for a while and go up the Grand stairs.
Take
the way to the Room of Floating Ledges and go left past the door. Ride the first
of Floating ledges to the room where Nick explained about the Four Locks. Since
you�ve got over 10 silver Wizard Cards, approach the door and watch a first
Lock sliding open.

Three
more locks to go�
Then,
go all the way down. You
can save your game here by the familiar Save Book under the stairs. Now you�re all set for that duel in�