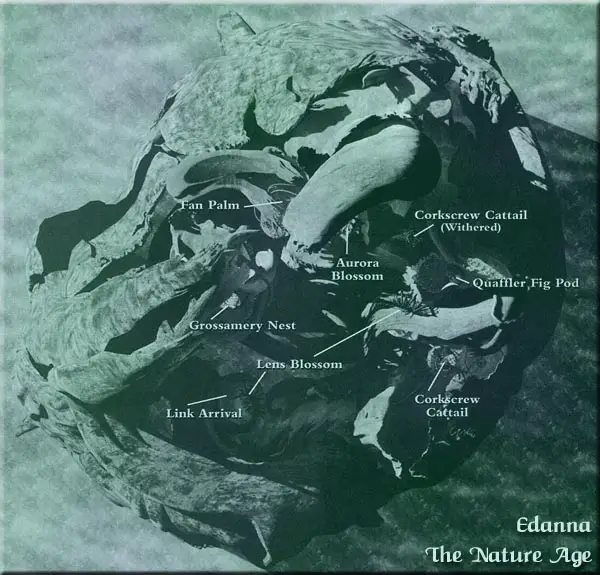
Edanna - The Nature Age

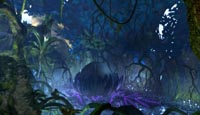
Welcome to Edanna, a natural island that rises out of the ocean like a giant multi-level tree. Unlike the puzzle-rich Amateria, Edanna is basically one huge ongoing puzzle you must begin solving from the moment you arrive. To do this you will have to learn how the environment acts and reacts to certain stimuli like touch, light, and other living creatures.
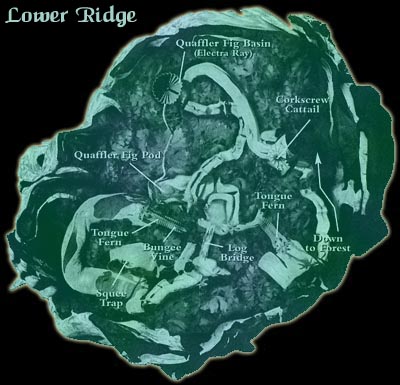
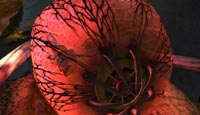
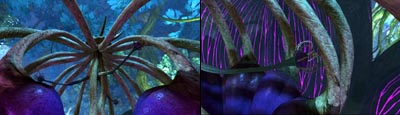
 You start this part of your adventure on the middle section of the giant three-level tree. Investigate the large flowering plant. This is the first of many Lens Blossoms you will find and use during your stay on Edanna. Zoom in to use the lens, which you can then pan around and view various parts of the island and the J'nanin linking book suspended in some vines. Now leave this plateau and follow the path to the spiral plant in the distance. This is a Corkscrew Cattail and acts like a spiral escalator - just step on and ride it to the top.
 When you reach the top level make a note of the tendrils from the cattail that feed the giant plant water from a nearby pool that has formed in the Quaffler Fig. This is an important clue for later. Head up the slope toward the Lens Blossom. A large bird flies into the area and lands in the nest on the other side of the chasm. Take a peek into the lens to watch the bird feeding its young. The J'nanin book and the Nature Symbol you seek are both under the nest, so getting into that nest is your ultimate goal. Turn and head back down the slope and go through the opening in the cliff to the left.
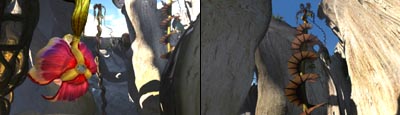
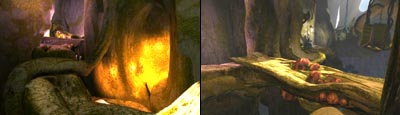
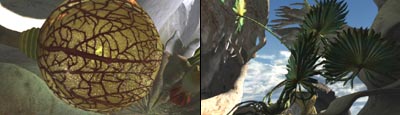 Turn left and follow the path past the large liquid-filled pod on the left. Touch it for a cool effect and make a note of the withered Corkscrew plant nearby then move on down the path. Follow the steps on the right as they lead to a higher ledge with some green palm trees on the right and an Aurora Blossom sitting in the shade opposite the trees. This blossom is much like the Lens Blossom but it also has the ability to redirect light. Now all we need is some light.
Head back to the base of the palms and press the center bulb, which causes the fronds to rise toward the sky allowing the sun to hit the Aurora Blossom. This also reveals another linking book to J'nanin previously hidden by the fronds. This book will return you to the Edanna tower back on J'nanin rather than the Observatory. Head back to the lens and pivot around until you can line up the beam of sunlight on the Quaffler Fig pod you passed on your way up here. The pod will burst and spill its liquid into the nearby basin allowing the new cattail plant to revive. Head back down the path and get on this plant to spiral down to the lower area.

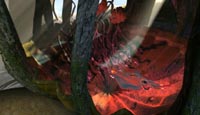 You are now deep in the interior of Edanna. It is dark and the twisting vines and branches create a difficult maze you must navigate. Follow the obvious path toward the glowing purple pod and check out the Electra Ray swimming inside. Make a note on how it shocks the roots then eats them - this will be useful later.
 Turn left and follow the large vine down some steps then turn left and go through the purple-lit passage. Continue until you come to a strange looking pod with spikes and an obvious place for you to touch it.
 When you touch the pod it begins to pump and it sucks the liquid and the Electra Ray through the tube and into this pod. This is the first of many such pods you will use to transport the Electra Ray to where you need him. For now turn and face the junction behind you.
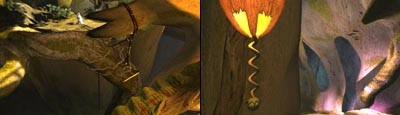
 Go down the yellow passage to the right and don't overlook the missing journal pages after you make your first step in that direction. Follow the passage until you reach a large drop ahead and a barnacle covered log to the right that forms a bridge over the chasm.
 Cross the bridge and follow the passage until you come to your first Tongue Fern. Locate the bulb hanging down on the left and pull the spiral cord to open the petals and shine light on the fern causing it to unroll creating a bridge. Step out onto the leaf and locate the handle near the end. Pull it down and you can now use the vine as a swing to reach the ledges on either side of the leaf.
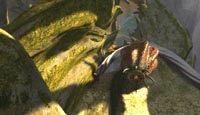
 Looking back toward the bridge you can see a purple ledge far away. The log bridge is currently blocking your swing to that ledge, so we are going to have to get rid of it - but how? Note the Barnacle Moss growing on the log and think back to your last trip to J'nanin and how that moss reacted to the chirping Squee. It just so happens there is a Squee lair on the other ledge and you do have a clear path to swing to that ledge.
 Once you land on the ledge you can see the lair, the trap, and the winch that will raise the trap. Crank the handle to raise the trap then approach the purple fruit and touch one to knock it loose. It will drop and roll into perfect position under the trap, but our goal is not to catch the Squee but to block his return path back to his lair. To do this you will need to touch the fruit one more time to roll it away from the lair. When the trap is set and the fruit is properly position turn and walk past the crank and slide down the curved path to land back at the previous passage.
 Make your way back to the Tongue Fern and you should be able to see the Squee munching on the fruit. Flip the gold handle to remotely spring the trap. This startles the Squee and sends him running across the log. Watch the results. Now you can swing to that purple ledge and turn left when you land. Pull the vine to unroll another Tongue Fern allowing you easier access to the previous area even though you have no real need to return.
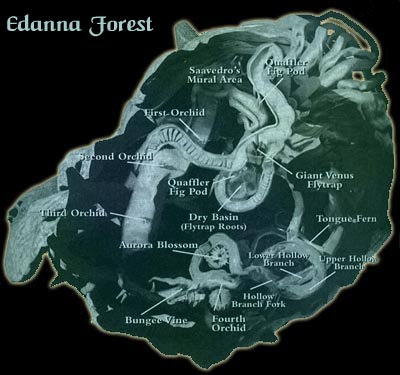
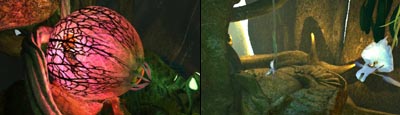
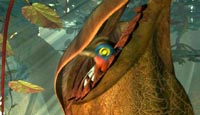 Welcome to the Edanna Forest. Follow the path as it leads down to the forest floor. Turn left as you reach the bottom of the steps and look at the huge Venus flytrap that has captured the giant bird you saw earlier. You can hear the disturbing cries as it tries to escape. You must help! Note the flytrap's root system and think back to how you zapped the smaller version of this plant back in the Observatory workshop. Now all you need is some electricity. Perhaps an Electra Ray would work, and you just happen to have one stuck in a pod back in the previous section.
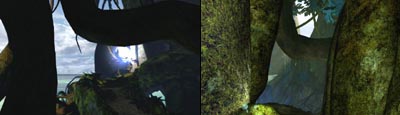
 Turn to face the direction you just came from and take the path that angles off to the left through the triangular opening leading out to the ledge overlooking the ocean. Turn left again and follow the narrow ledge marked with yellow lights. Continue down the dark path until you reach another empty fig pod next to a mural on the wall.
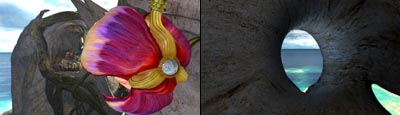
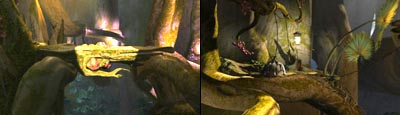
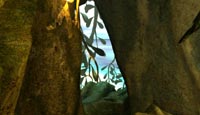
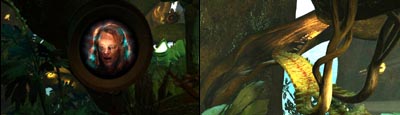
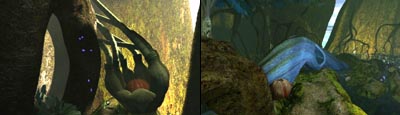
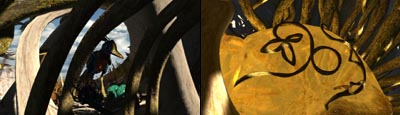
 Push the pod to start the pumping action and it will suck the Electra Ray down into this pod. Examine the mural for some interesting back story interpretation then turn to face the thorny roots of the Venus flytrap. Move toward them until you see the path split into two paths as shown in the right image. This is an important intersection that I will be referring often in the next few paragraphs. For now, go left.
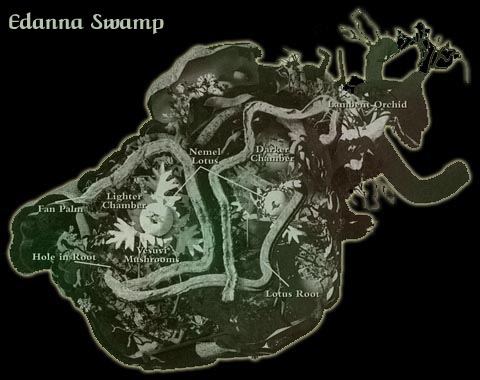
 Follow the path as it winds its way down to another empty fig. Press it to suck the Electra Ray into this pod as shown in the left image. Also note that this pod hovers over an empty basin where the Venus flytrap's roots pass through. You are getting close to solving this puzzle. We just need to burst that pod. Return to that split in the path back by the mural and this time go down the stairs to the right. Note the large white flowers. These are Lambent Orchids and they have the unique ability to reflect light. Each has a viewing lens that lets you aim the light source.
The first flower on the right is not used in the next puzzle so continue past it and the next one on the left all the way to the third flower out in the sunlight. Aim this flower at the one you just passed on the left as shown in the middle image. When the light strikes the flower there will be a noticeable glow. Now return to the second flower and aim it toward a Tongue Fern down below. When aimed properly the fern with unfurl making a bridge for you to continue.

 Now return to the mural and take the left path again. Go all the way down and this time go past the trapped fish and follow the path around into the darker area of the forest. You will note a branching path off to the left. This leads to the Tongue Fern you just triggered but save it for a second. Move forward a few steps and locate the imager. Press the button to hear Saavedro's message then return to the side path and follow it to the organic bridge.
 Once on the other side, turn right and climb the tree trunk with all the mushrooms growing on it. Ignore the branch to the right for now and continue forward until you reach the Aurora Blossom on the ledge. Look through the lens and note that you cannot pivot the view - more sabotage! No matter, as it is already pointing toward your desired target. Behind and above you is another Lambent Orchid. Follow the winding path up and aim this flower at the blossom below. Note that nothing will happen right now as your light source is currently aimed at the Tongue Fern.
Now you get to make the lengthy trip all the way back to the mural and down the other stairs to the other group of orchids. Go to the last plant and aim it at the first orchid (the one to the right of the stairs as you entered). This plant was already locked on to the plant across the forest so you should now have a continuous beam of light that feeds into the Aurora Blossom and bursts the pod below. The hungry Electra Ray begins to feed shocking the Venus flytrap and releasing the giant bird.
Before leaving this area make sure to move the light back to the other orchid so the fern rolls back out allowing you back to the other side. Make the return trip one last time back to the mural and down the left path and across the Tongue Fern bridge. Turn right and head up the log again. This time turn right and enter the hollow log to the right. Follow this passage making sure to pick up more journal pages and exit on the other side. You should see the ocean and the sky through an opening. Follow the winding trail down to the hanging vine and click on it to drop to the floor below.

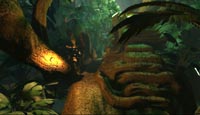 You now have two possible paths. The stairs on the right lead up to a Jumping Dragon which will take you back to the previous level. There is no reason to do this unless you just want to check out the ride. Follow the path to the left and go through the archway in the roots to reach the blue-tinted area.
 You are now in the depths of the swamp. This is a dismal place that is hidden in the shadows at the very bottom of Edanna. The swamp is divided into two sections, one dark and the other a bit brighter. Once you go through the arch turn left and start up the ramp. About three moves up the slope there is a passage to the left that leads to the lighter side of the swamp. Ignore it for now and continue to the top of this slope.
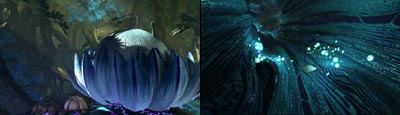
 As you climb the slope check out the giant Nemel Lotus to the right. At the top you can use the Lambent Orchid to reflect the sunlight down toward the flowers on top of the Nemel Lotus. This causes the stamen filaments to open, which can then be used to attract insects and ultimately open the plant to get the fruit inside. Head down the slope to that passage I mentioned earlier and enter the next chamber with the second Nemel Lotus.
 When you enter you immediately notice this area is much better lit which has caused the stamen filaments to open on this plant. There is also a large swarm of insects buzzing around the top of the plant that we need to get over to the other plant. Head to the right and locate the palm tree. Push the bulb at the base to cause the fronds to rise and spread out casting dark shadows over the area and closing the stamen filaments. The insects don't seem motivated to leave so head around to the other side of the giant plant. As you approach the large blue root with the opening you will also spot a round pod. Push the pod to release spores into the air. This is a clue.
 Turn to face the giant Nemel Lotus and walk down to the base. Locate the largest brown mushroom to the left and push it to release a large cloud of spores into the air, which cause the insects to fly to the other chamber. Turn and face the root and enter the hole. As you travel through the giant hollow root make sure to get the journal pages from the floor.
 Exit out the other side to find you are actually inside the giant Nemel Lotus on the other side of the swamp. The interior walls are full of fruit and you can see the insects buzzing around above you. Turn and climb up one click then turn either left or right to touch one of the stems that are sticking out. Touching the stem triggers a cool movie, so you may want to save before clicking.
 When the ride is over you find yourself in the giant bird's nest with a bunch of hungry babies. The mother seems upset that you hitched a ride so you need to get out of here quick. Turn left and slide down the curving slope to the landing below. This puts you directly in front of the Nature symbol, which you automatically record in your notebook. Use the nearby linking book to return to the Observatory in J'nanin.
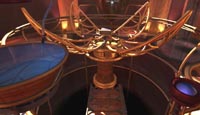 Back in the Observatory you can now approach the imaging table and use the new symbol to trigger a walkway (assuming you have been following this guide), which extends out to the book in the cage. A holographic message begins to play. This one is from Atrus to his sons. Listen to the message then walk out to the cage and open the book. Click the linking panel to begin the final journey to Narayan - The Age of Balance.