
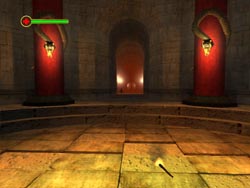
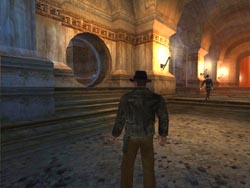
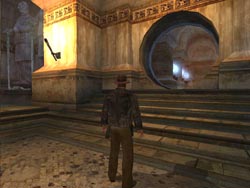
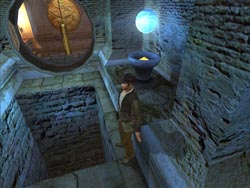
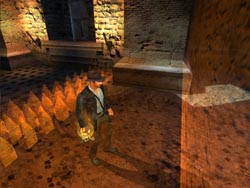
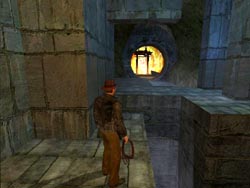
Indy and Mei-Ying climb down into the tomb and survey the impressive circular chamber lined with giant snake pillars. Not exactly Indy's favorite creature. Mei-Ying will wander the corridor while you are left to solve some of the most dangerous action puzzles in the game so far. The worse thing is that nearly all these puzzles are fatal, so if you fail just one you have to replay the entire level. You can take the Torch lying on the floor if you wish. It's not necessary but it does add a bit of extra light for as long as you carry it.

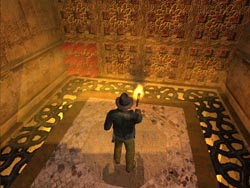
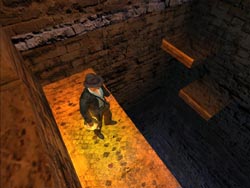
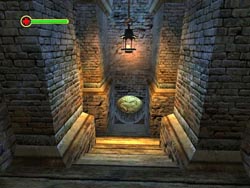
Follow Mei-Ying down the long hall and you will come to a Prayer Pillar situated between three circular doors. Spin the column to lower a section of floor around the pillar and you will descend into a deep shaft.
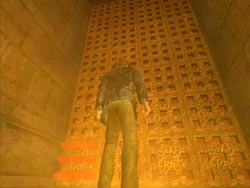
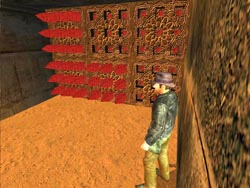
This is a deadly puzzle but not that difficult to figure out. Keep an eye on the textured wall and watch for red spikes to poke out. This indicates a section of wall that is about to slam across the room and crush anything in its path. Make sure you are someplace else.
When the spikes move across the room they create new ledges for you to climb on or jump and pull up onto. The trick is to always be ready to climb or jump to each new section immediately after it appears. Timing is critical and you only have about a one-second margin for error. If you get caught with your legs dangling over the edge you are dead meat.
The pattern of the moving spikes will change depending on which side of the shaft you stay on. The final three sections of spiked wall created two steep steps you can vault onto and climb out of the out. Some victory music will play to congratulate you.
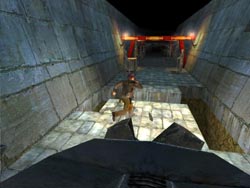
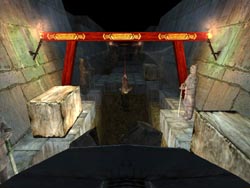
Head back down the long hall. Mei-Ying is still wandering around aimlessly. Note the open door on the left (walking away from the Prayer Pillar) and go through to face your next challenge.
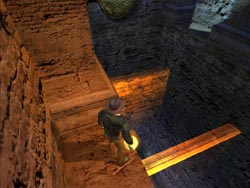
The movie gives you a good idea of what you need to do. Note the high beam you need to use your whip on to swing across the pit. This requires a running jump followed by a whip-swing. Time your run so the flames are off then wait until you are at the apex of your swing to release so you arc over the flames on the far side of the pit. Quickly duck into the alcove on the right to avoid another flame jet that shoots out directly in front of you.
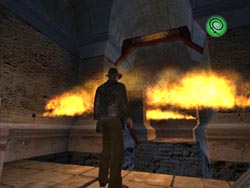
The passage continues to the left. Roll under the flames then carefully walk to the very edge of the next pit. You need to make a double whip-swing across this pit and arc over a flame jet that shoots from the ground. Don't worry if you catch on fire. The flames do very little damage and go out quickly.
Make one final swing across the next pit and pull the ring on the right to open the circular door. Flames will shoot from the floor blocking your path. Wait for them to stop before returning to the Prayer Pillar room. You can also visit the Water Fountain on the high ledge to your left to heal any burn damage from the previous traps.
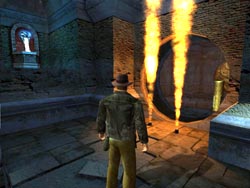
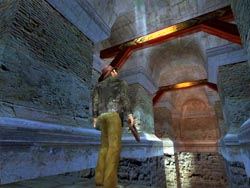
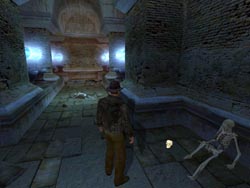
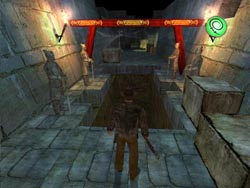
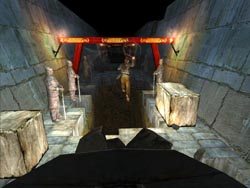
Go back down the long hall and note the new circular door that is now open on the right, opposite the one you just went through. Enter and watch the cinematic then prepare for a very deadly challenge. Note the glowing orbs. These will shoot deadly bolts of electricity when you get within a certain proximity. After they discharge you will have a few short seconds to safely pass by before they can shoot again.
The trick here is to pick up the skull on your right and toss it down the hall triggering the discharge. Once it stops you can run past the first set of orbs and repeat with a new skull. Make sure to get the Healing Potion between the first two sets of orbs. You now need to jump diagonally to the left over the pit. You are safe from electrical damage for the moment.
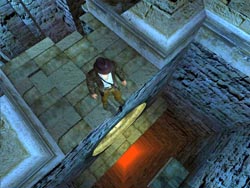
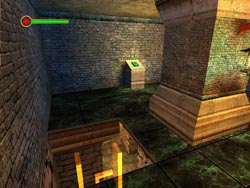
Walk carefully up to the edge of the next pit and move the camera around so you are looking down the shaft. You can spot a circular opening below you and a lower ledge across from you. Hang from the edge then drop down and go in inside the opening to get the Hidden Artifact: Shang Statuette. Make a running leap out of the alcove across to the low ledge and pull up. Jump and pull up to the top passage and continue to the corner.
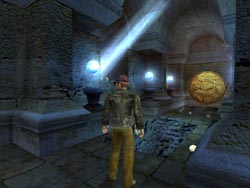
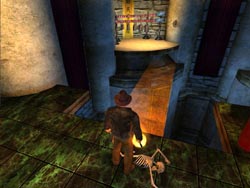
Now things get a bit more challenging. Note the shaft of light beaming into the alcove. There is a switch inside that you can pull to open the door at the far end of this passage. There is also a Water Fountain in a similar alcove opposite the switch. Toss a skull to trigger the lighting then run along the narrow ledge on the right. Get a drink if necessary then toss another skull to trigger the lightning before jumping across the pit and climbing into the alcove. Flip the switch and toss one more skull so you can safely jump out of this alcove to the left and continue.
When you come to the final pit you need to hug the right wall and shimmy slowly toward the door. Wait for the electricity to discharge before quickly shimmying the rest of the way then run out the door. The final door next to the Prayer Pillar is now open and you can leave this level.
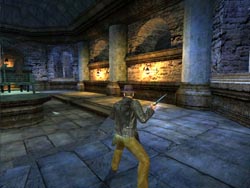
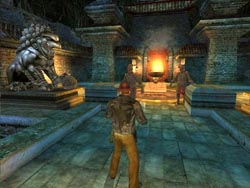
Go either right or left and take the curved stairs leading down to where several Triad warriors are ready to challenge you. These warriors are not the undead warriors you fought in the previous level. They are much tougher and can take a lot of damage before dying. Mei-Ying will fight alongside you but you will have to do most of the work. The best strategy for this fight is to get on either of the stairs and try to position yourself so you can punch or kick these guys over the edge. Not only does this end the fight quickly, it doesn't leave any dead bodies around for the second round.
THE EMPEROR'S TOMB - The Path of Unseen Peril
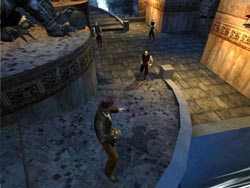
When the final Triad has fallen two orange spirits will come out of the statues. If there are any dead bodies lying around they will inhabit these bodies and you will have to fight the undead version of the Triad warriors. When the body is destroyed you still have to destroy the orange spirits before the door opens.
The movie will automatically take you into the next area, so you may very well want to return to the previous room and use the Water Fountain before continuing any further. A hollow voice (perhaps Obi Wan) hints that you need to use the Mirror of Dreams to reveal hidden traps that lie ahead. Activating the mirror does indeed reveal huge walls that are opening and closing. To get past the first wall, wait for it to close then run into it and stop. Wait for it to open then run forward and tumble at the last second just to be sure.
You now have a large bed of spikes divided into three sections. The outer sections will retract and the middle will disappear. You need to get the timing down and run and jump over the first section just as the middle ones go down. Then run and jump over the third section and stop short of the next invisible wall. This is a bit trickier. Walk into the first wall when it is close and wait for it to open then quickly run through into the second wall and wait for it to open. Run through this final deathtrap and stop short of the pit.
Your glowing mirror will illuminate a large ledge below you. Drop down then walk to the left and jump across to the higher of the two smaller ledges. Drop down to the lower ledge then jump and grab to pull up to the stone walkway. Continue along this path until you see two narrow orange ledges leading back out into the pit.
Carefully step down onto the first ledge and walk out a few steps. Carefully turn to face the second ledge, which is actually the top of an invisible wall. Jump across and angle to the left. You will either grab the wall or arc over it and land safely on a flat ledge behind it. Pull up and pull the ring to disable all traps, seal the pit, and open the exit. Mei-Ying will now join you.
Look out for that... Oops! Too late. Indy steps into a trap and slides into the next level where a growling Triad warrior greets him. Make quick work of this nuisance then go through the circular door behind you. Go down some steep wooden stairs and through another door at the bottom.
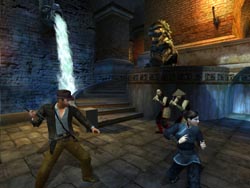
 This next large room is full of Triads. You will need to defeat several of them to trigger a cutscene. At some point in the battle you need to make a quick detour to collect the Hidden Artifact: Qin Lawbook and a Tiger Skin Potion located in the high alcoves on the right side of the room (as you enter). Mei-Ying can handle herself so feel free to get these items whenever you like. When the first wave or Triads are defeated Mei-Ying will need to open the exit while you fight off a fresh batch of Triads. Orange spirits are also part of this wave and will inhabit dead bodies.
Your Pa Cheng will easily kill these minions, both in human and spiritual form. Try to use secondary attacks for hand-to-hand combat and only throw the weapon when you are at long range. Make sure to keep moving after you throw the blade. Another great tactic is to throw the Pa Cheng then rush the target and start punching. When the blade returns to your hand you will still be punching but start doing extra damage. When they are all defeated a movie will take you into the next level.
THE EMPEROR'S TOMB - The Bells of the Dead
Slowly walk into this next room and watch as the orange spirits bring the two Terracotta statues to life. These guys are slow and they have an uncanny ability to block your Pa Cheng when you throw it, but they are no match for personal attacks. Simply move in and start slashing with your secondary fire and watch as limbs and heads go flying. These guys are tough and will keep coming at you unless you completely destroy them.


When the two statues are reduced to rubble you can go through the large doors. Equip your Mirror of Dreams. This is a very sneaky secret, as there is no real clue to indicate that you should do this, making this one of the most often overlooked artifacts in the entire game. The glow of the mirror will clearly indicate a pair of bamboo ladders leading to a secret change above.
Climb either ladder to reach the secret room and collect the Hidden Artifact: Jade Liubo Board. Climb back down and continue through the next door into the final puzzle area for this level.
When you enter the room a series of bells will play. You need to listen and memorize the tune (or order of the bells) just long enough to repeat the notes on one of four sets of bells located in the various corners of this room. Your Mirror of Dreams will illuminate transparent walkways leading to each corner section.
Prepare to go insane. This is the most difficult part of the game so far, and while I wish I could help you more, words simply can't get you through this next action sequence. It took me 127 attempts to finally finish this level. While I can't be sure if the difficulty setting has anything to do with this part of the game I do know that I changed it from Normal to Easy after 125 tries and was able to do it on my second attempt on this skill level. If you are playing on the PC I highly recommend lowering your resolution down to 800x600. You need as fast and smooth a framerate as you can get for this segment.
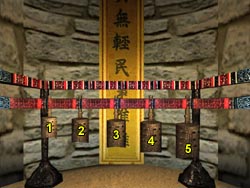 Don't worry if you forget the notes. There is a ring next to each set of bells you can pull to have the notes play as many times as it takes for you to memorize them. Here are the solutions for all four sets. I've numbered the bells from left to right.
Song 1: 1-3-5
Song 2: 2-4-5-1
Song 3: 2-4-3-5-1
Song 4: 3-2-1-5-4
When the final notes are played the exit opens and you can leave this level.
THE EMPEROR'S TOMB - Von Beck's Revenge
Now that you are probably scared enough to crap in your hat, here is what happens.
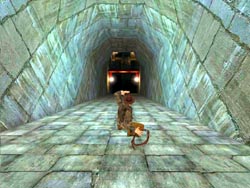
The two crates on your left are empty so don't waste your time smashing them. Making a running whip-swing across the first pit and a movie will take over. Once the movie ends a non-stop 60-second action sequence begins. Start running away from the pursing tank and never take your finger or thumb off the UP button for the rest of the level. Indy will drift off course from time to time so you may need to steer him back toward to center so he doesn't get hung up on the large stone blocks.
Each time you make a whip-swing Indy will get centered back on course. You need to jump over several gaps and swing over several more until you come to the first left turn. Stick to the inside wall as you make this turn and swing over the next pit.
As you continue down the crumbling path you will eventually come to a swing where the ground breaks away as you prepare to jump. This indicates a very tricky jump. You need to run and jump and whip the overhead beam and quickly release the whip button to cut your swing short. The reason for this is the area where you would normally land after a full swing is also crumbling away and you would fall into the next pit. By cutting your swing short you can land and still have about a half-second to jump (never stop running) and whip the next beam to swing across.
After this very tricky double swing you will come to another corner, as the passage turns right. Stick to the inside and be careful as the claw on the tank will block your view of Indy and you are fast approaching a gap in the floor. Jump the game and make a normal whip-swing then watch for more collapsing floor indicating another swing you need to cut short so you can land and still have time to start a second swing. After this you will need to jump several sections of falling floor and make one final tricky swing to reach the ramp leading down.
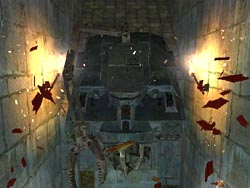
Don't relax just yet. You are sliding toward a bottomless pit so get ready to whip that beam near the bottom. You don't need to jump, only whip and swing across to the far ledge. Turn and enjoy the demise of Von Beck and his tank before heading through the circular doorway.
Carefully make your way through this next section. There are large gaps and crevices in the floor and you certainly don't want to fall and die this far through the level. As you near the orange glow of the entrance to the Netherworld watch out for one last tricky gap. Jump over this and go through the door to end the level.
Congratulations! You've completed the Emperor's Tomb!
